Views: 43 Author: Site Editor Publish Time: 2024-11-19 Origin: Site


In this article, readers will learn how to set up the inverter of a solar system so that they can effectively power up the circuits.
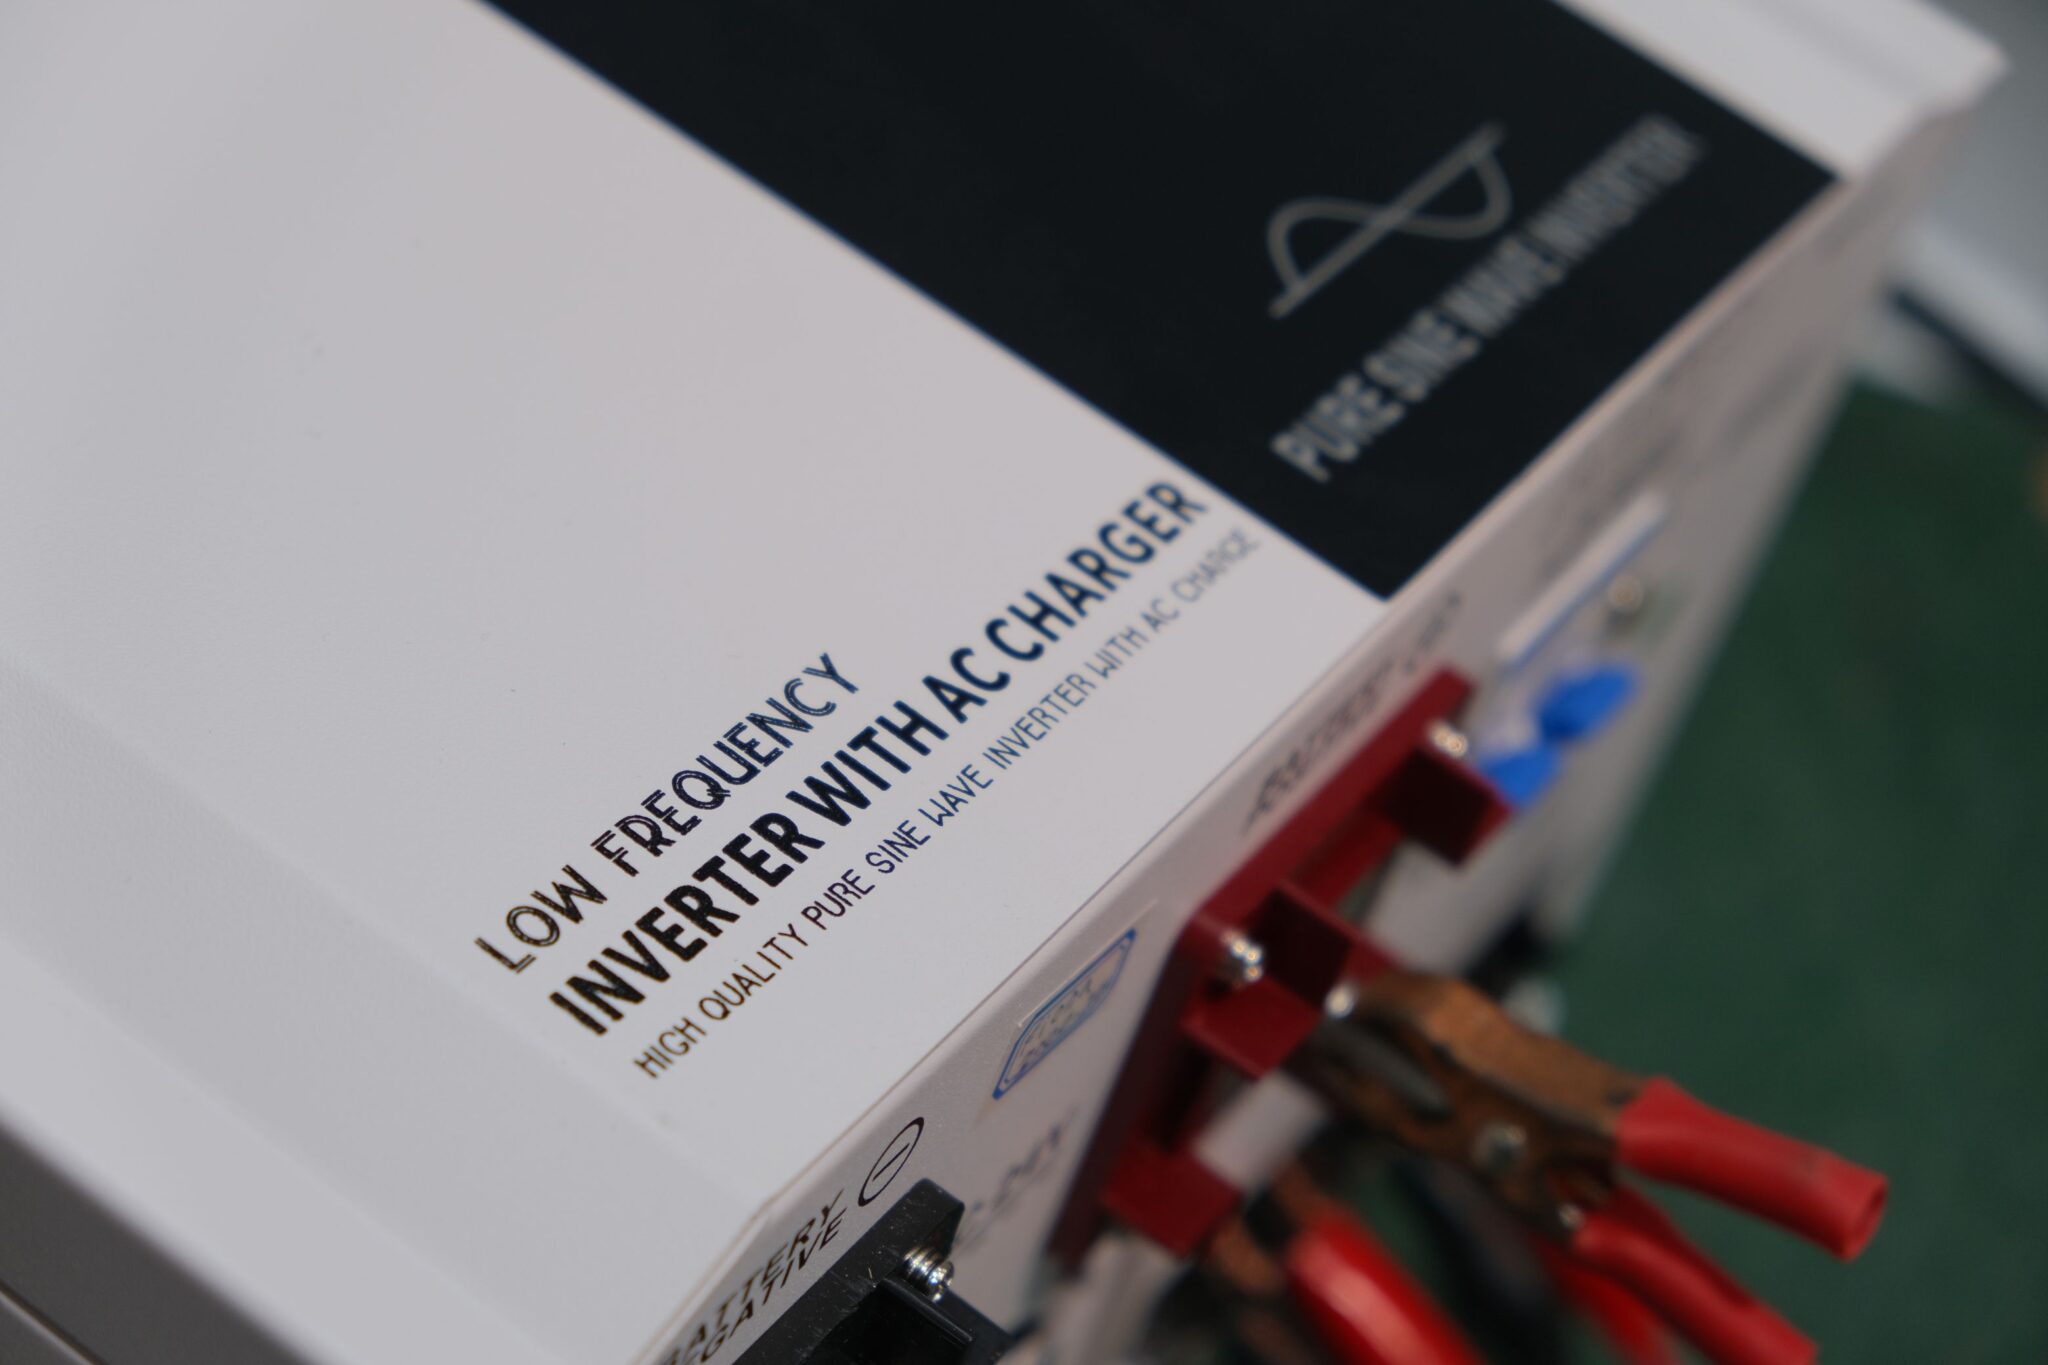
Namely, while fixing of the inverter of a given solar system is very important in order to promote the efficient functioning of a given system. In residential or commercial solar setup or a utility-scale project the inverter stands as central unit which converts the direct current (DC) from the solar panels into utility frequency alternating current (AC) for home or commercial appliances. In this guide, we shall present a step by step process of how to install your solar inverter and other useful information as you do it.
When it is time to install the inverter of a solar system, the parts required include the solar charge controller, solar panel, and battery, and follow the path: battery to charge controller; solar panel to charge controller; battery to inverter. Make sure all contacts are well connected and earthed before engaging the system.
If you have arrived at this article because you are aiming to install a new inverter for your home or office, or if you think your inverter needs tweaking, let me guide you through the steps to complete the process correctly.
Selecting the right type of solar inverter is crucial before installing it so follow the steps below on how to select the right type of solar inverter. There are three main types of inverters:
String Inverters: These are the most commonly used in residential and commercial solar facility installations. String inverter links a string (or series) of solar modules, transforms the output across the string at once. String inverters are generally cheaper and suitable for systems where all the panels get equal amount of irradiance. However, this means that if one of the panels is shaded or bad one, then it reduces the efficiency of the string.
Microinverters: Micro inverters are mounted at the back of each solar panel and it benefits roof top residents where some of the panels could be shaded or different from the other. As each panel functions independently, a shaded panel will not affect other panels This means that a panel that is shaded will not affect the others that are not. This setup also optimises the total system efficacy in diverse complicated network situations.
Hybrid Inverters: As an article of hybrid inverters, both the solar panels and battery storage systems, the hybrid inverters enable energy storage and support backup power from the grid. There are several types of inverters out there and these one is flexible inverter, and can be used in applications where users wish to store energy either for night use or during a power blackout.
For most residential solar power systems where there is continuous access to direct sunlight, string inverters suffice and may be cheaper.
That is why if your installation is complex with shading or panels oriented in different directions, microinverters offer optimal efficiency and productivity.
If planning for battery storage system then hybrid inverters should be selected as they can be used for managing energy.
Location of solar inverters must therefore be well chosen to provide safety and efficiency to the rest of the system. The proper environmental condition is necessary to avoid overheating the inverter since it affects both, efficiency and long-term performance. That is why it is necessary to install the inverter is a specifically designed place with open space and protected from heat, dust and humidity.
2.1) Indoors vs. Outdoors
The best place for inverters is an indoor environment that is cool, dry and shaded such as a garage, utility room or basement. These sites provide the necessary protection from the prevailing climatic conditions. If the use of the battery is indoors is not possible then the battery can be installed outdoors but the inverter must be put in a sealed weather tight container to guard it against water, moisture and harsh climatic conditions. It is suggested that only the outdoor inverters require specific enclosures.
2.2) Ventilation
Inverters should be able to quality proper airing because they produce much heat during operation. For the inverter to be effective and have a long lifespan make sure the area around where it is fitted whether on the wall or any other surface must be aerated well. Do not surround the machinery with restricted area, provide minimum space around the machines so that air can easily flow. Proper ventilation also has to be ensured so that an overheating of the inverter is not caused because of this has to be installed on a horizontal plane.
2.3) Shaded Area
Regardless of where it is installed, do not expose the inverter to direct sunlight if used in either an indoor or outdoor setting. Living in an environment where there is always exposure to light, the inverter is likely going to work under high temperatures that will make it work slower and wear out faster. It’s placed at an area where it needs to generate cool air hence placing it where it will not be affected by direct sunlight as this ensures it doesn’t heat up.
Therefore, one should choose the right place for installing your inverter, so that it functions optimally and requires less replacement as it is likely to overheat and break down.
The charge controller particularly plays an importance role in your solar system since it controls the flow of electricity that is supposed to be stored in the battery from the solar panels. Its main purpose is to prevent battery overcharging, a situation that may cause battery overheating or even wiring damage and may cause hazardous conditions. Steps for connecting the charge controller to the battery as below:
3.1) Ensure Correct Polarity
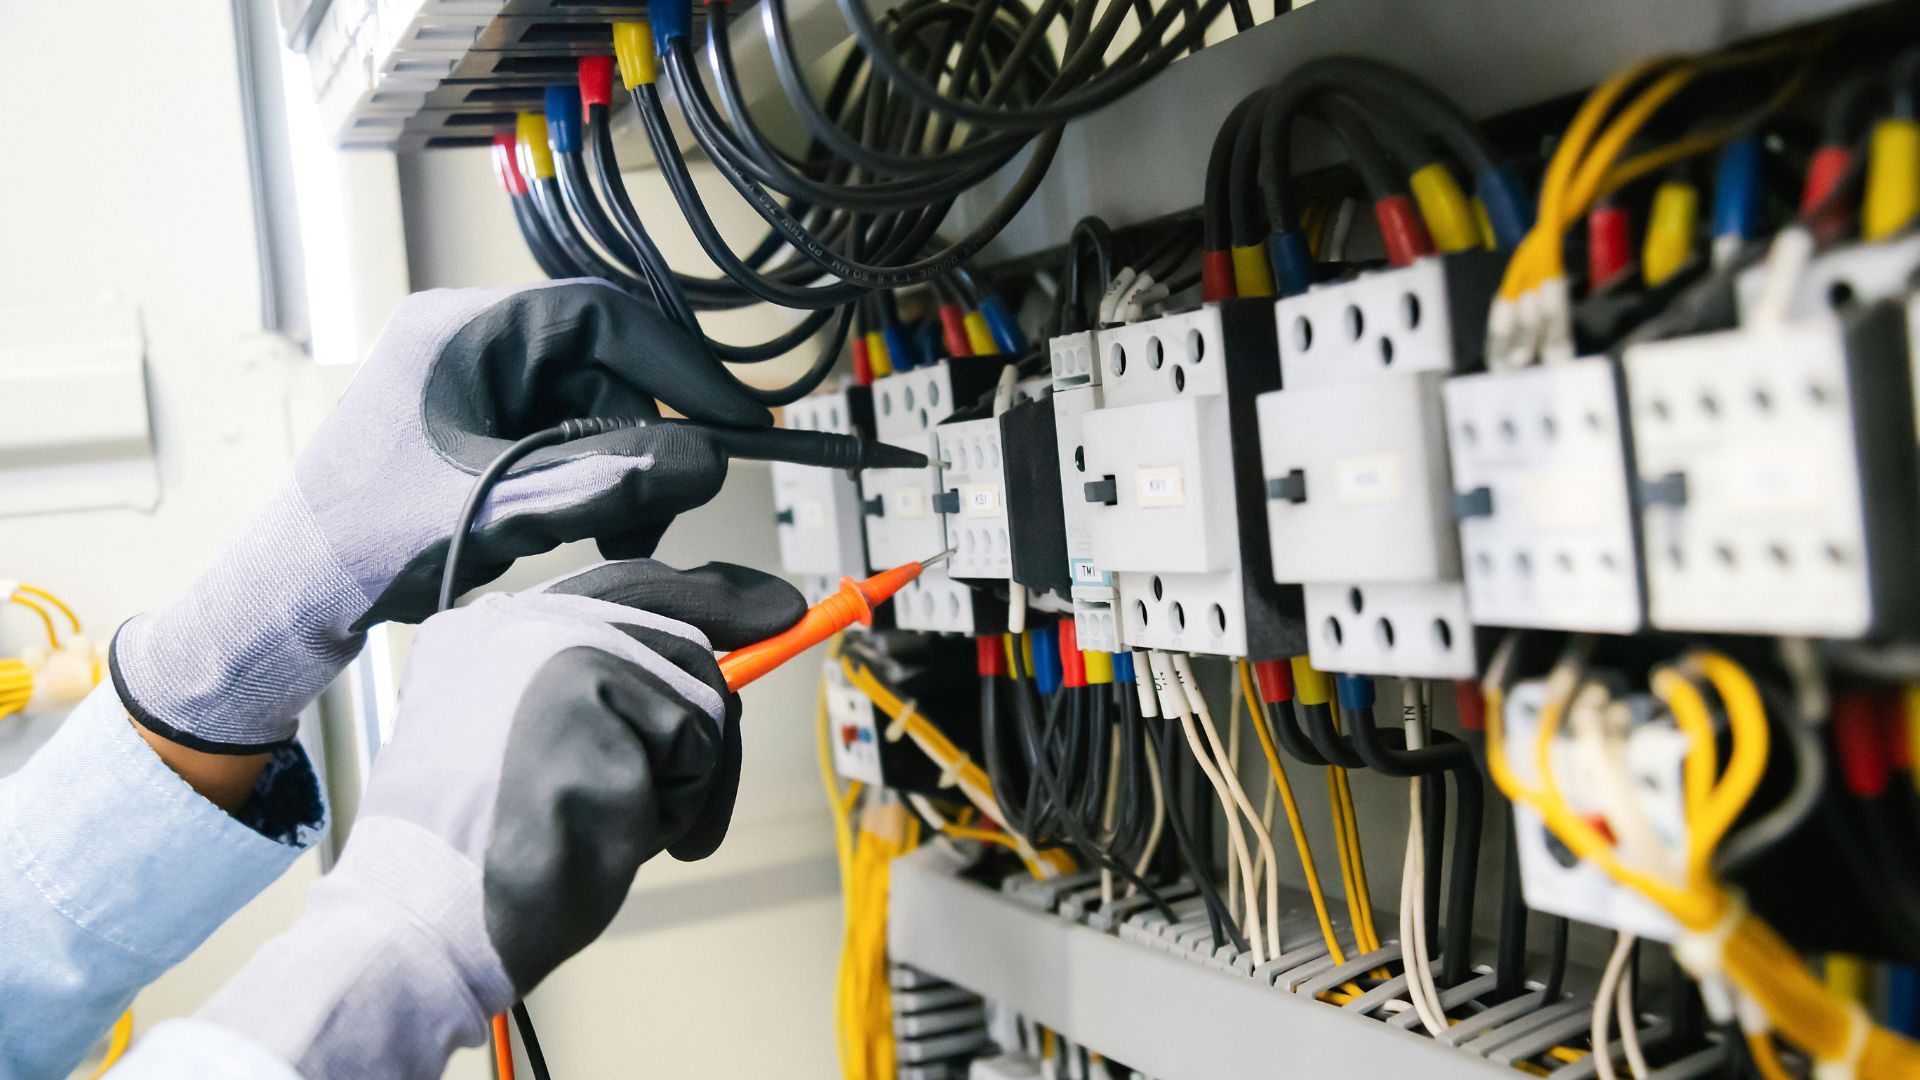
On connecting the charge controller to the battery there should always be a close association between the positive terminal and the negative terminal. This helps in avoiding short circuits and in the process damaging the system. Make sure you use cables with adequate voltage and current rating for your solar equipment. The majority of charge controllers will have labels that will help to identify positive and negative terminals. Verify these connections before going further into these steps.
3.2) Use Proper Connectors
It is recommended to work only with connectors that are compatible with your system voltage and amperage. Correct joints are safe and convenient to provide the best securing of points, apart from a few hazards like breakage, which may lead to fire disasters frequently resulting from incorrect connections. Ensure that the most effective connectors are used and reject bad connectors such as making use of hasty clamps or even tape.
After you have fixed your charge controller on the battery, the other important aspect is connecting the solar panel to the charge controller. It also means that the power produced by your solar panels before being fed into the battery is well controlled and distributed properly.
4.1) Join the Positive Terminalessment
For proper connection and to avoid short circuits it is required that the positive wire of the solar panel array is connected with the positive input terminal of the charge controller as the negative input is done for the negative wire of the solar panel array. All solar panels together with the charge controllers have labels to guide the user when identifying the positive (+) and negative (-) ends and this step should not be taken lightly. Attempting to change the polarity can have dire consequences such as Physical destruction of the system and or create a safety threat thru issues such as heat build up, or shorting of the circuits.
4.2) Check Voltage and Current
Before making the final connections draw the voltage and current from the solar panel array total, and make sure it is within the operating range of the charge controller. Over these ratings is detrimental to the charge controller since it may end up not working or even becoming a complete failure.
In other words, if a charge controller has been rated for 12 V system it will not take the higher voltage present in the 24 V or 48 V solar array if not designed to do so. It is always important to note the manufacturer’s requirements in order to ensure proper selection of the system components.
4.3) Multiple Connection – Series or Parallel
Depending on your system’s design, you may need to wire your solar panels in series or parallel:
Series Wiring: In series connection the voltage is added and the current remains the same when you connect panels in series. This is desirable especially in systems where high voltage is needed, for instance 24V or 48V systems. In this arrangement the positive terminal of one-panel connects to the negative terminal of the next one and so forth.
Parallel Wiring: Also in the parallel connection the voltage is the same and the current rises. This configuration is advantageous in conditions where the system requirements a higher current, such as high Ah battery storage or low voltage paneling. As for parallel connections all the positive wire terminal are arranged in parallel and all the negative terminal as well.
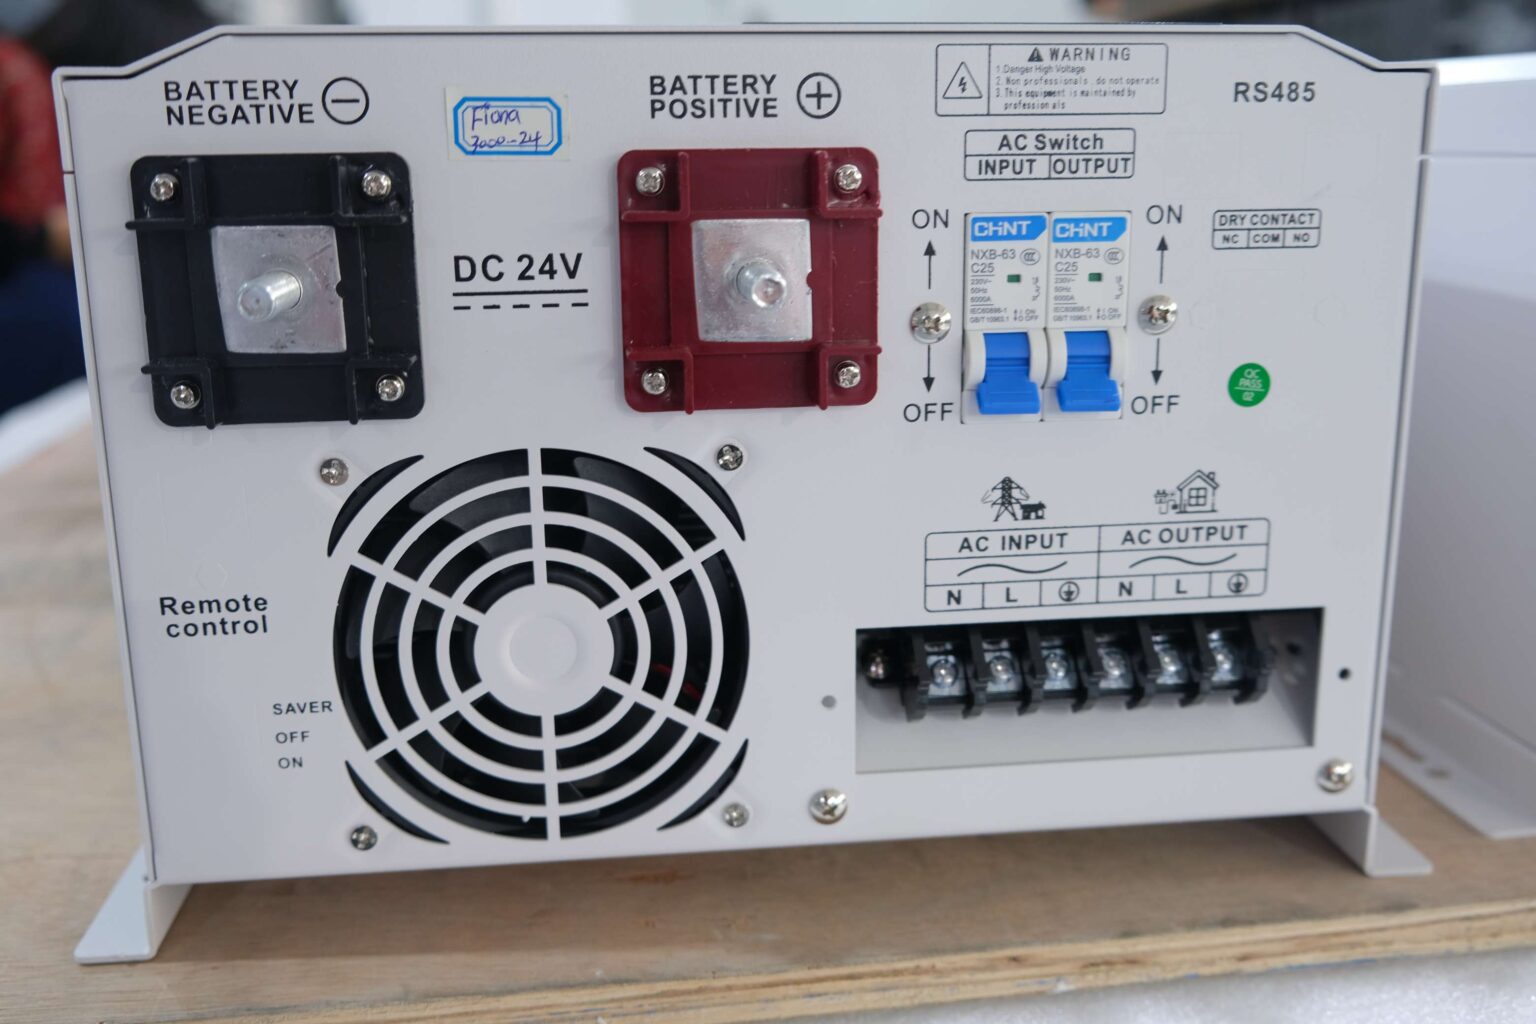
After the charge controller is connected to the battery then it is time to connect the battery to the inverter that will change the DC to AC energy to be used at homes or business.
5.1) Extending Positive and Negative Cables
The first one is polarity, which appears when connecting the battery to the inverter, therefore should be checked accurately. In this process the positive terminal of the battery has to be connected with positive terminal of the inverter as well as the negative terminals. The cables should be selected according to the voltage and current ratings of the system, because undersized or wrong type of cables may result in over heating and loss of energy. Always cross-check these connections to make sure that polarity has not been reversed as this is bad both to battery as well as the inverter.
5.2) Ground the Inverter
Earthing is one of the essential safety precautions that prevent your solar power system from risks of short circuit or excessive electrical flow. Make sure that the inverter is well ground; use ground rod or ground the inverter to the electrical panel system. In fact, most inverters present a grounding terminal for this very reason alone. Because different manufacturers embrace various methods of grounding, it is imperative that you consult the manufacturer’s guide on the right measure to take when grounding the equipment.
5.3) Cable Sizing
The conductor cables that connect the battery to the inverter determine the flow of electrical power safely and efficiently in relation to size. Cables that have cross-sectional area less than the required one may result in overheating and in a fire risk or decrease system efficiency. Consult the inverter’s user’s manual to determine the wiring screen size which would enable them support the maximum power output of the inverter. If the inverters were to operate at higher power, larger inverters could need thicker cables.
When all the components of your solar power system are installed and interlinked, it is important that the system is fully commissioned in order to see that all is well. Since the components of the system can easily be damaged by overloading it is wise to test it before you try to load it fully or to its maximum capacity.
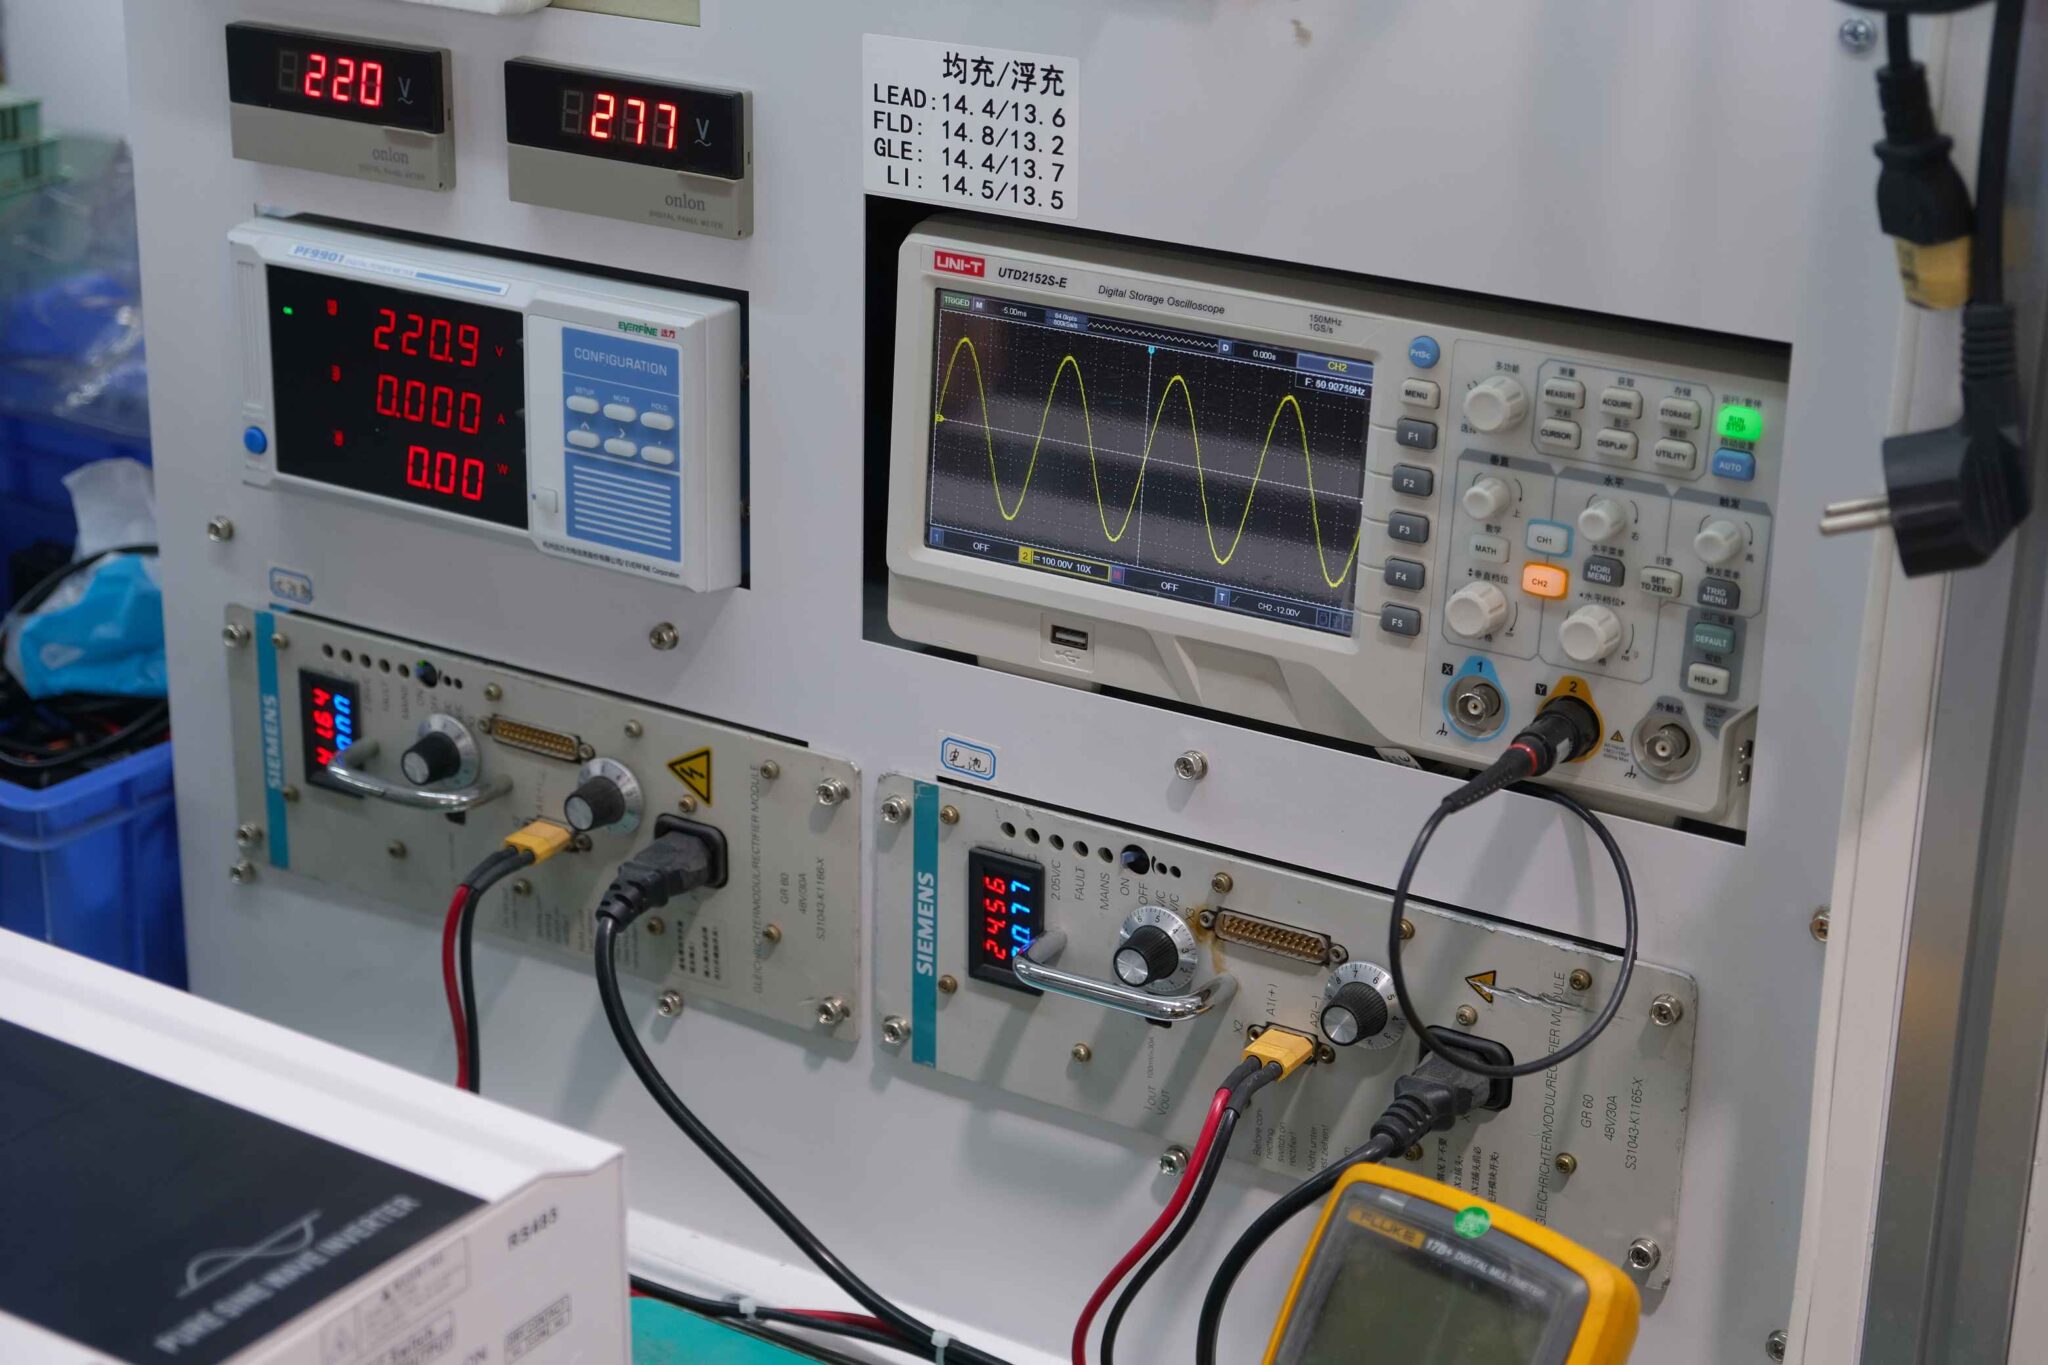
6.1) Check Battery Voltage
Before operating the system, it is pertinent to identify level of battery charge by using a multimeter. That is done to make sure that the battery is charged and the voltage of the battery is at the standard voltage. If the voltage is too low then there could be problems with charging of the battery and thus the operation of the machine.
Refer to the manufacture recommended voltage ratings for the equipment. For instance, in a 12V systems, the battery voltage should be 12.4V-12.7V in the case of fully charged battery.
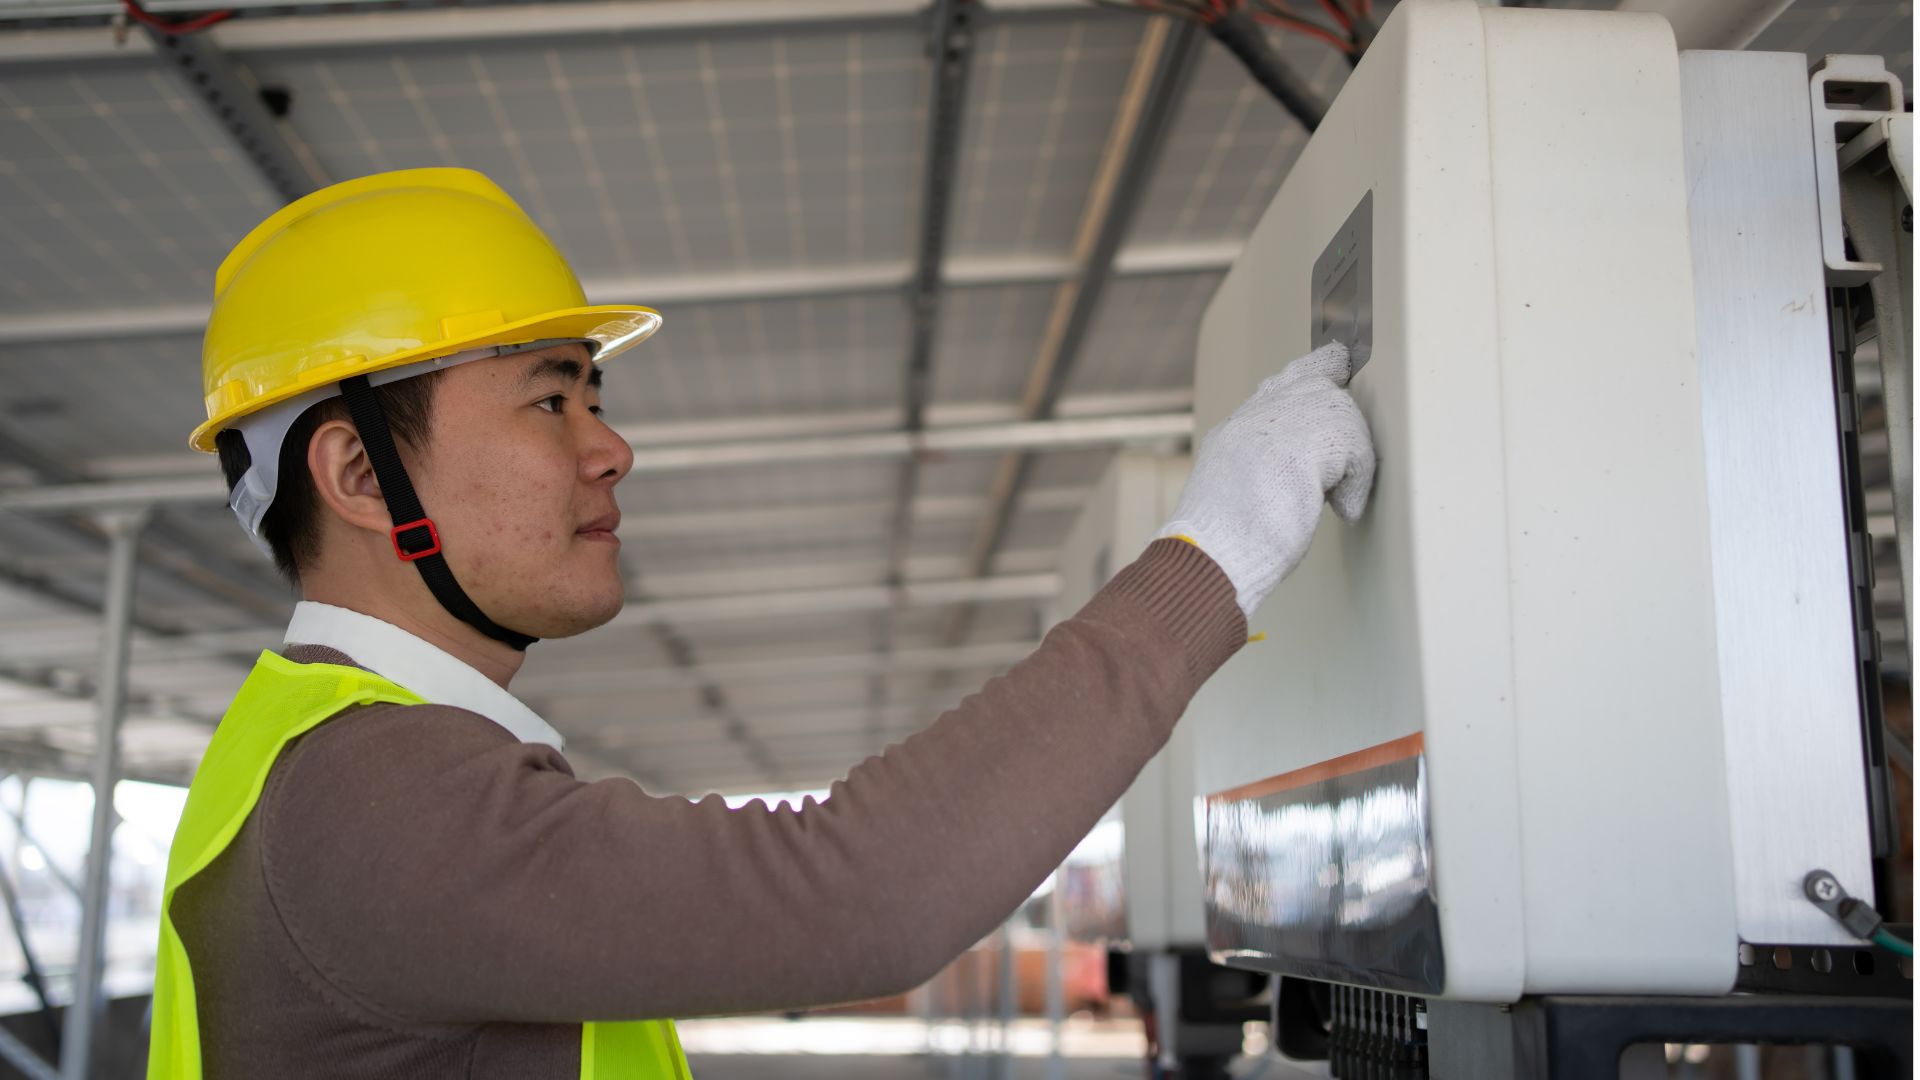
6.2) Turn On the Inverter
Make sure that the battery is charged then turn on the inverter. Pay attention to the inverter LED s if available, to check that is correctly taking the direct current voltage from the battery and is effectively convert the power into an alternating current.
Most inverters will have a light or an LED that will help in knowing if the system is on or not. If there is any warning or an error displayed on the inverter, check in the inverter’s user manual, there will be a troubleshooting segment for any difficulty indicated by the inverter.
6.3) Check the Load
The final step is to connect a small appliance or device, e.g., a light bulb, a fan, or phone charger, into the inverter to confirm that it supplies proper AC power. Monitor the appliance so that you are able to ascertain whether it is functioning normally or there is a fluctuation or even an interruption.
This step makes sure the inverter is providing the correct AC electricity through the battery of DC electricity into your house or business.
The installation of an inverter is a very sensitive stage of the implementation of any solar power system, and it is during the installation stages that the following common pitfalls may happen? Such mistakes can cause system disruptions; safety issues and even harm the inverter and other components of the tracking system. So, with this information in mind, you can prevent a catastrophic solar system installation and gain the most from your solar power system.
Inverter grounding is one of the biggest mistakes that homeowners make during the installation process of inverters. This process is crucial to avoid numerous electrical risks, such as fluid shrinks or shocks, short circuits or sudden electrical burst. Otherwise the inverter together with other components of PV system may pose some risks for safety in the event of a fault or lighting strike.
As with all inverters, always adhere to the ground instructions form the manufacturer firmly to the earth ground or grounding rod. If unsure one should consult a qualified electrician to avoid exposing oneself to dangers of electrocution.
Another error is to choose cables with a cross-sectional area insufficient for the inverter’s power. Copper and aluminum wires can be undersized either by cross-sectional area or weight to allow for the current that passes through them, and this causes wires to heat up, thus lead to inefficiency in power usage and in certain extreme cases, cause fires.
Gauge or thickness of the wire depends with the voltage and the current of the system and must meet the inverter manufacturer recommended standard. Where power is high, thick cables, lower gauge numbers, will be required in order to cope with the electrical load without the risk of overheating. Luckas 2011 notes that the sizes of wires being employed should be adequate to promote maximum energy transfer while avoiding complete breakdown of the system.
Inverters are rated in terms of carrying certain amount of power; exceeding these ratings lead to shutdown or failure of the inverter. Overloading on the other hand happens when extra appliances or so many unwanted devices are connected to it goes beyond the rate of the inverter.
To avoid this, it is required to sum up the watt rating of such devices you intend to power and match it with your inverter capacity. Some of the losses are because I like to see some headroom to never have to push the inverter to its absolute limit, as adding headroom ensures the inverter is reliable and less likely to shut down.
Mounting the inverter of a solar system is always a critical process that determines whether your solar setup is going to function optimally or not. Every wire from selecting the right kind of inverter to correct connection and grounding contributes a lot to the efficiency of the systems as well as the durability. Million sunshine can make your solar system become a clean energy source or a reliable energy source for many years.
At CZPowerSourcing, we have been focusing on supplying the best inverters and premium technical services for you to meet your solar power solution needs. Our company is capable of handling residential, commercial and industrial projects hence if you’re signing up for a solar project for your home, your business or a commercial project, we can provide great services from the onset to completion of the project.
Looking for help with your solar panel installation or trying to select a suitable inverter for use in your system? CZPowerSourcing is here to direct you to success in your transition to a sustainable world. Let us provide you with not only goods, but confidence and secure energy in return for your trust. Together we will be able to light up the world with a Green future!
For information on how you can take that first step to harness power from the sun, call CZ Power Sourcing today!
1. Which type of solar inverter is suitable for home installation?
Residential solar inverters are the best if they cater with the necessary system capacity, economic value and requirements. String inverters are mostly used in residential systems and it’s affordable and well suitable for medium to large scale systems. Microinverters are useful in areas where the output of individual panels can differ, that is in a shaded condition or any other circumstance. String inverters are preferable if the backup power source will be extensions of the systems or will not be used at all.
2. How do I determine the size that a solar inverter should have for a given solar power system?
To size a solar inverter, one needs to equate the total wattage put in by the solar panel to the amperage or wattage of the inverter. That is, if you have 10 panels of 300 watts each, the total output of the system will be 3 KW and therefore to suit this load, you should go for an inverter of not less than 3KW but slightly higher. It has been observed that Oversizing or undersizing has undesirable consequences that lead to inefficiency or system damage.
3. How time consuming is it to install a solar inverter?
The time sometimes it can 2-4 hours to install a solar inverter; this depends on the type of inverter and the, size and problem of the system, and the speed of the installer. More time can be required for assessment and problem solving.
4. Is a battery necessary when using solar inverter system?
So, let me stress that a battery is not necessarily needed for most configurations of solar inverters. If the system is interconnected with the grid then there is no need for a battery as the excess is your pipe into which energy is fed. If you need energy storage for backup or for powering solar at night, you will require a hybrid inverter and battery storage.
5. What measures do I have to put in place while installing this solar inverter?
An array of safety measures include switching off all sources of electrical power during the process, wearing proper hand gloves, using adequate tools, as well as confirming to the right method of grounding besides observing the electrical codes of the region. Thus, it is also preferable to incorporate circuit breakers as well as surge protectants to prevent the damage to your system.